Το καλάθι σου είναι άδειο.


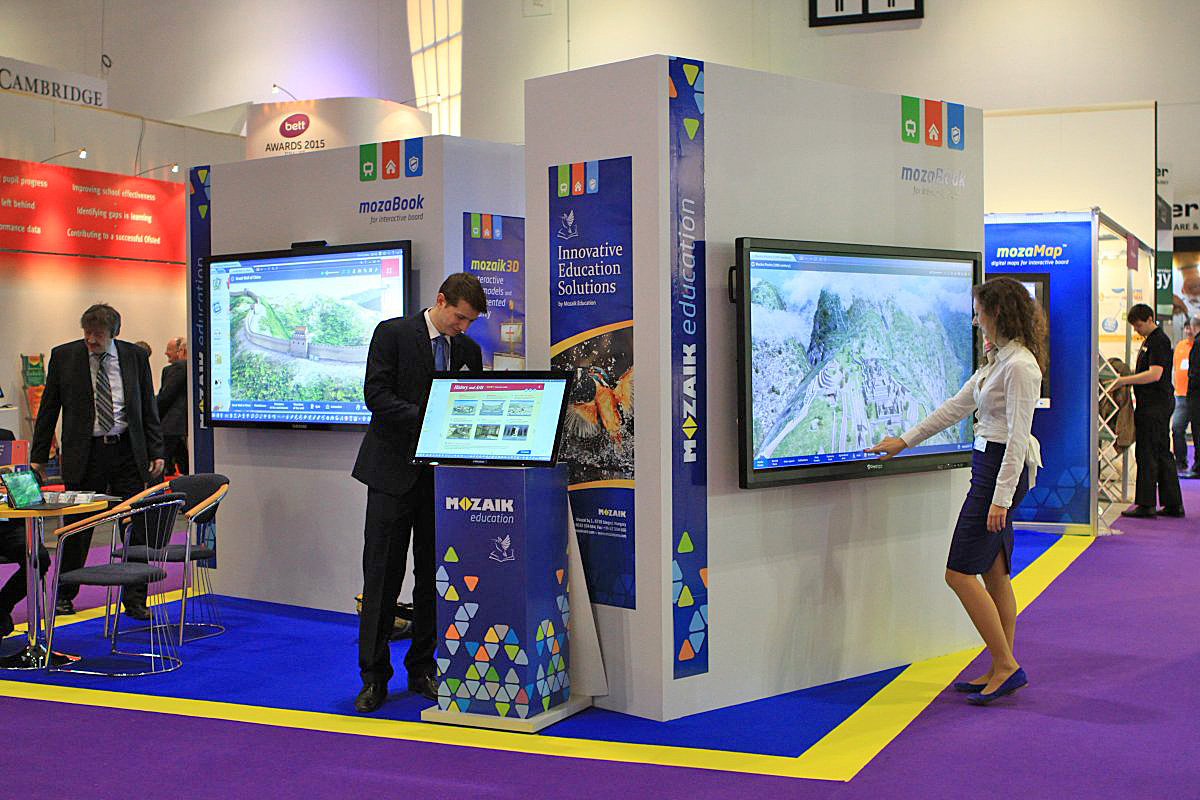
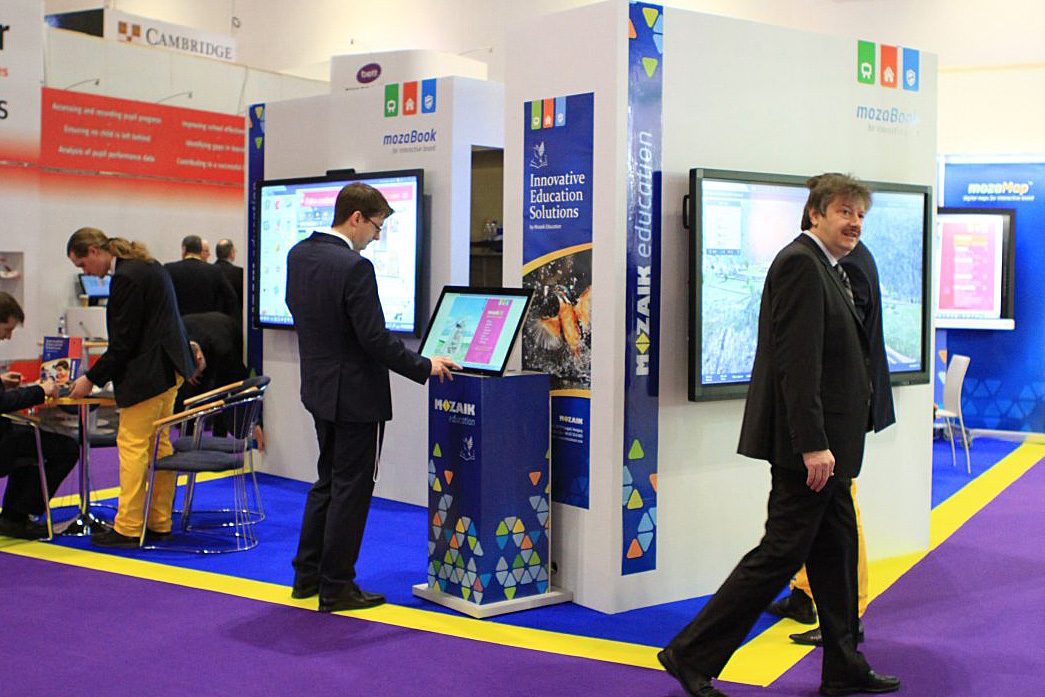
Another BETT Show is nearing! We’ve been traveling to London annually for this huge education technology event since 2013 and our team is already making preparations for the January 2016 show. BETT always gives us the opportunity to meet with publishers, distributors, school administrators. Once the show kicks off, we hold frequent meetings and presentations of the mozaBook software, mozaWeb online at-home learning portal, and other technology, like our augmented reality application and 3D model apps for smartphones and tablets.
Many teachers and students from all over Europe attend the BETT show, so it's a great way for us to share our offering with educators, watch students use and play with our interactive learning content, and hear what everyone has to say about current developments in digital education.
So what’s new this year? First of all, our list of international publishing and distribution partners has grown. Along with that growth, we are continuing to translate more and more of our content into over 20 languages. We’ve ve also developed the classroom management and sharing capabilities in mozaBook. See our recent post, What's new at Mozaik for the 2015/16 school year, to learn more about these new features. Finally, as always our library of content on mozaWeb continues to grow, including new 3D models on mozaWeb.
In addition, mozaBook has made it as a finalist in this year’s BETT Awards for the International Digital Resource category. You can check out the listing of finalists at the BETT Awards website, bettawards.com. We’re in good company this year and the final results will be announced during January’s show.
Will you be in London from January 20-23rd? If so, our team hopes to meet you at BETT. This year we will be exhibiting our line of digital education solutions at stand B130. See you there!
 Dear Readers,
We have an early holiday surprise in store for you this year. A Christmasaurus! Find this new species of dino in the "Apatosaurus" 3D on mozaBook or mozaWeb.
The Apatosaurus is believed to have lived over 150 million years ago, in the late Jurassic period. The massive herbivore fed on plants to get its energy. Today, in the Christmasaurus view of the 3D model, we can see what it would be like if the Apatosaurus and his friends lived in a snowy winter wonderland.
Go ahead, find him and share him with your friends. Oh, and one last note from all of us: have a very happy holiday season this year!
Warm wishes,
The Mozaik Team
Often teachers may find themselves in one of two particular camps. One one side, there are the digital and tech enthusiasts - sometimes fully paperless educators. And on the other side there are teachers who are all about hands-on learning.
There are undeniable benefits on both sides, but I have a question for teachers out there: why not put one foot in each camp?
We haven’t seen anyone outright deny that technology is an important aspect of education for students, in its many different forms. Why? Graduates are increasingly expected to be familiar with various types of tech in their new workplaces. And as more and more countries are adding coding to their curriculum, the building blocks behind the tech is also playing an increased role in school and with employers.
Hands-on activities build motor skills from a young age and work a different part of the brain. Not to mention it’s so much fun to build and create things for yourself, creating a great sense of accomplishment while helping students observe and understand new things.
So what are some common benefits?
When used well in classrooms, both technology and hands-on can encourage independence and exploration. They can both encourage critical thinking skills, too.
The new school year is already well under way and we hope all the teachers and students out there are learning a lot and having a good time! We'd like to give you an update on several new things here at Mozaik Education in recent months.
First of all, our new blog has a fresh design to match our updated website, mozaweb.com. We also have a few new contributors who will be bringing you exciting new content throughout the year. We will focus on tips and tricks for using technology in the classroom, including lesson planning hints and resources, as well as edtech news, and information about products and features that our team is working on.

Our blog isn’t the only thing that’s gotten a makeover - mozaBook 4.5 released a new update back in September. There are a lot of new features that come with the update, including new tools and content available in more languages, but we would like to highlight a few key improvements that we’ve made in order to really streamline teachers’ digital work and interaction with students: classroom management, homework and sharing.
What is the digital textbook market like in your country? Are digital textbooks easy to find in the average classroom?
With the growing use of new technology in classes like interactive displays, tablets, smartphones and interactive projectors, decision makers in many nations have started investing and making digital textbooks available to educators and students. In some countries, textbook publishers are even required by law to provide the digital version for each of their textbooks in order to stay in the market. This is a drastic change - not only for publishing businesses, but also for teachers and students. That’s why it is important to provide solutions that make digital textbooks easy to use and easy to teach with.

Mozaik Education was founded in 1990 as a textbook publishing house and nearly a decade ago Mozaik began developing digital solutions in an effort to offer a new product which would add to the educational value of its printed textbooks. These digital education resources were built to be used alongside traditional teaching methods - not to replace them. The idea behind mozaBook was to create a software which would foster a better classroom dynamic and offer interactive educational content which would provide new insight to students that paper books and still images could not. Mozaik continues to print and license textbooks, but now offers a range of digital solutions for use with textbooks and separately.
mozaBook Exercise books are wonderfully suitable for making classroom presentations and lesson plans. Along with text content we can use our own photos or images from the Internet, the image bank found in textbooks, the built-in drawings, illustrations from the mozaBook Gallery, videos as a material source for presentations. However, we can also insert the mozaLibrary 3D models and the mozaBook tools.
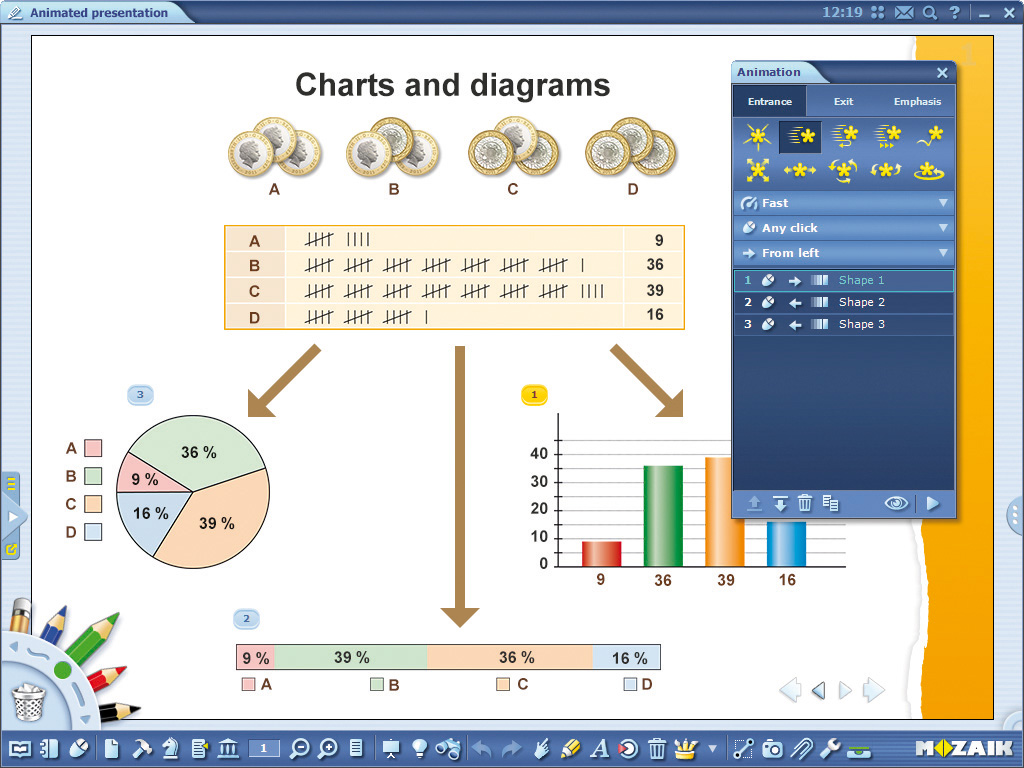
If all this was not enough for raising pupils' interest, the animation is still to come. All the items of an exercise book can be animated. We can choose from entrance and exit effects and other exciting playful schemes. We can set the speed and direction of animations and we are able to adjust the timing of the appearance and disappearance of elements. We can start the popping out of 3D models, videos and tools, and after having finished their use, we can continue with the animated presentation.